One of the first things I did to awaken my car from its’ 15 year hibernation was to replace the fuel tank as the original tank was full of 15 year old gasoline. The new tank included a replacement sending unit for the fuel gauge. I thought the old sending unit was probably in very bad shape so instead of removing and keeping it I discarded it along with the old tank and fuel. It turned out that might not have been such a good decision.
I quickly discovered that my gas gauge wasn’t very accurate anymore. Not that it ever was that great. But now it insisted I had a quarter tank left when I was only about half a tank low. It turns out the new sending units don’t match the factory gauges. I believe the sending unit is fairly linear, but the factory gauge isn’t. So full and empty match up fairly well, but readings in between are off. If I had saved my old sending unit it would be a lot more accurate.
After some research online I found a post containing resistance measurements that compared an original sending unit and a replacement sending unit. Here is an excerpt from the post I found on the Vintage Mustang Forums. I rearranged the resistance readings into a table to make them easier to compare.
These were bench measurements so they are based on swing of the sender which may not be exactly at the tank measurements.
| Reading | New Sender | Original Sender |
| Empty | 74 | 71 |
| 1/4 | 60 | 36 |
| 1/2 | 42 | 22 |
| 3/4 | 23 | 15 |
| Full | 8 | 9 |
You can see that the new sender is roughly linear between positions (15,19,18,14) while the old sender is not (6,7,14,35). This is why the new senders drop the reading to empty very quickly then stay there.
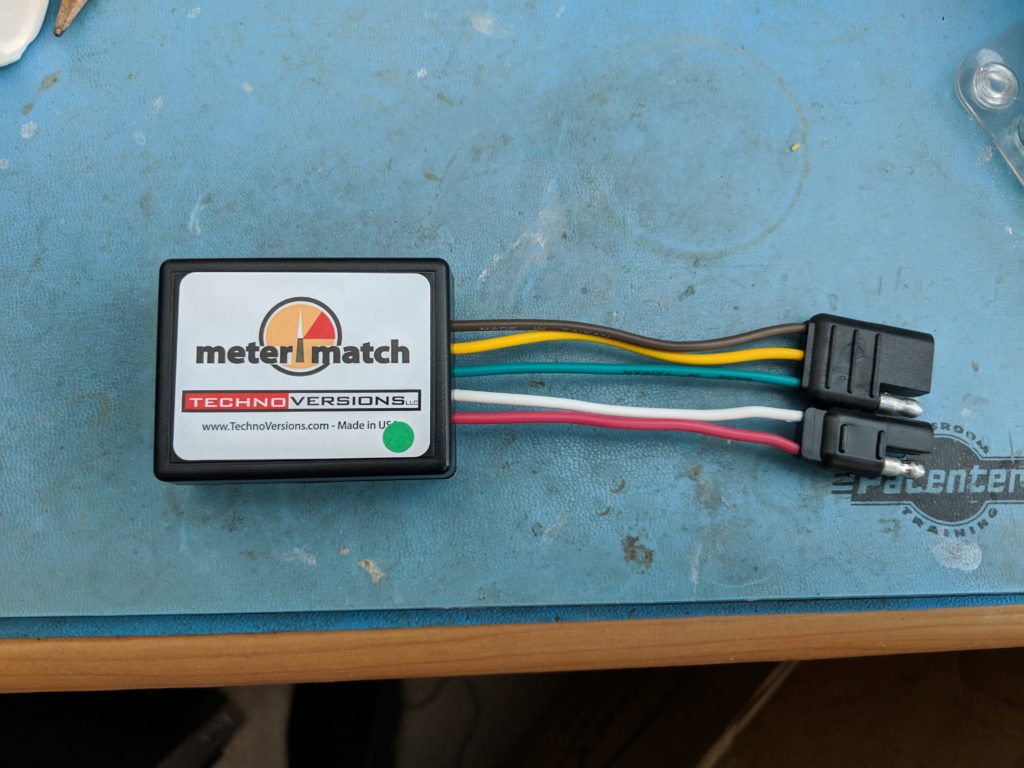
One very smart poster on the VMF by the name of Woodchuck suggested using an Arduino to map between the linear and non-linear values. It turns out that somebody has already done something similar. It’s from the company TechnoVersions and is called the Meter Match. I purchased one online and it arrived within a few days. Here is a picture of the Meter Match with some connectors I added as a part of my wiring project.

I wanted to build a wiring harness for the whole mess so that I could service the instrument cluster by simply unplugging the unit. I also needed to be able to reach the Meter Match so that I could calibrate the gauge without requiring access to the back of the instrument cluster. I chose to place the Meter Match in the console storage area. Another place for it could be in the glove compartment. I ordered some connectors and colored wires to build the harness.
I have a spare instrument cluster so I decided to test the gauge on my workbench with and without the Meter Match in an attempt to characterize the gauge’s behavior. This would permit me to test the Meter Match and perform an initial calibration before I installed everything in the car. Below are the results of my characterization. One thing to note is that the stock instrument cluster voltage regulator is about 5 volts. The meter match has a built in regulator that supplies the fuel gauge 8 volts. The fuel gauge behaves differently depending on whether it receives 8 volts or 5 volts. I characterized the gauge using both voltages with no Meter Match, and with 8 volts using the Meter Match.
| Resistance (Ohms) | No MM (5V) | No MM (8V) | MM (8V) |
| 10 | F | F+ | F+ |
| 15 | 3/4+ | F+ | F |
| 25 | 3/8 | F | 3/4+ |
| 27 | 1/4+ | 7/8 | 3/4 |
| 42 | 1/4- | 1/2 | 1/2- |
| 50 | 1/8 | 3/8 | 1/4 |
| 60 | E+ | 1/4- | 1/8 |
| 65 | E | 3/16 | E |
| 75 | E | 1/8 | E |
| 77 | 1/8 | E- | |
| 82 | 1/8 |
From this chart I can see that if the sending unit behaves in a linear fashion the MeterMatch should get my gauge fairly close even before I calibrate it in the car. The readings I got also match up fairly well with the posting on VMF for the original and replacement sending units. Now I need to get to work removing the instrument cluster and doing some wiring. I plan to power the MeterMatch from the accessory post of the ignition switch. I also plan to add a fuse in the +12V wire for safety. Since the tank is already fairly full fine tuning the calibration will take quite a bit of time and plenty of trial and error. My next post should be the final installation and testing. I will try to post again after the end of the 2019 car show season to talk about my calibration efforts.
